

Rostock Max V3 E3d V6 Firmware Update
I am often asked what my favorite SeeMeCNC Rostock Max upgrades are (and why). I’ve
experimented with this printer a lot over the last 2 years (over 77,000 views) and used information technology as a platform to test all sorts of printer enhancements. Without farther adieu, here is my electric current configuration and why.
Mechanical Upgrades
My Rostock Max was an early V1 machine. The newer V2 with the recently introduced ball joint artillery and new carriages is quite nice. I don’t know if I would have experimented if I had these to start. Still, the components I use at present practice have a high-tech look and are quite reliable. Here’s what I have:
TrickLaser Trick Trucks
with Delrin wheels. These are very dainty and with iii rollers, do not over constrain move. In this case, three rollers are all that’s required and are easily adapted to remove slop.
TrickLaser Carbon Fiber Arms
with ball ends. I replaced my previous magnetic brawl stop upgrade with these. The magnetics worked well plenty but I was concerned that the mass and “drag” from all the wiring from a Kraken hot end might be likewise much for the magnets. These artillery and ends work very well and I get equally excellent layer alignment and precision.
I have not replaced my original V1 effector but I did JBWeld the rods in place to make it more than rigid.
PEI print surface.
I’ve spent a LOT of time testing all sorts of impress surfaces and concoctions. The merely significant surface that I have not personally tested is the GeckoTek surface. For me, PEI gives 100% consistent results, NO role separation failures and beautiful commencement layer surface finish. My primary use for 3D printing is to industry
fly fishing reels
I sell. These reels are seen and handled on all surfaces and the bottom layer, in detail, is highly visible and must be near flawless. PEI with a light 600 grit sanding and cleaning with isopropyl alcohol imparts a beautiful matte finish and 100% consistency with commencement layer adherence.

I utilise PEI for PLA and ABS. For Nylon I apply Garolite and other surfaces for polycarbonate, acetal and other exotic filaments.
ane/8″ Aluminum Heat Dissipator underneath the borosilicate glass/PEI layer helps evenly transmit heat from the Onyx bed heater.
Electrical Upgrades
I run both 12V and 24V ability supplies. This was primarily an evolutionary thing. If I were starting from scratch today, I would only run 24 volts. The steppers and fans run on 12V and the hot finish and bed heater on 24V. I do use a loftier quality
SSR that has very low voltage drop and is ideal for this awarding. This controls the output to the bed with 12V on the command side and 24V on the output to the bed side.
Kraken Hot End
– I originally got the Kraken to experiment with multi-extrusion (it has iv nozzles!). Another unique feature of the Kraken is that the common cold finish is h2o cooled with a 12V water pump. For the type of multi-extrusions piece of work I desire to do, multiple nozzles is not practical as drool and elevate are problematic. However, I’chiliad completely sold on h2o cooling! I’ve run this hot end for six+ hours/24-hour interval virtually every day for the concluding year printing PLA with absolutely no clogs or filament starving. It has been amazing in that respect. I’ve left all 4 nozzles hooked upward and simply lower the one I desire to employ to the bed with the like shooting fish in a barrel “leveling” set screws on the hot end. So merely 1 nozzle is heated and active at a time.
Water Cooling
– see above.
FSR Bed Leveling System – my initial experimentation with simple endstop switches mounted to the effector were sub-optimal and inconsistent. With a delta printer, in particular, having the nozzle tip human activity every bit the trigger point has advantages and is a “must have” in my opinion (and my experimentation has validated this). This is because unless the effector moves perfectly parallel to the bed surface with NO rocking or tilting as information technology moves, probing anywhere other than right at the tip of the nozzle is going to introduce errors.
Duet Control Board
– without a doubt, along with FSR leveling, the upgrade to Duet and the associated
dc42 branch of the RepRapFirmware has been the singe All-time upgrade I’ve done to my Rostock. Since building this machine I’ve migrated from the original RAMBo controller to an Azteeg X3 Pro, to Smoothieboard/Smoothieware and more recently, the Duet/RepRapFirmware. For almost 18 months I chased the elusive “delta machine calibration” Grail with very little success. Arduino based firmwares like Repeater and Marlin just didn’t work properly (and there was a fair amount of defoliation in Marlin with various branches supporting different probes and calculations). Smoothieware doesn’t have congenital-in delta auto-scale but
626Pilot on the SeeMeCNC forum developed a very overnice heuristic calibration on a special branch. The challenge was, due to memory limitations on the Smoothieboard, you can not enable a panel display and/or ethernet with auto-calibration enabled. In utilise, this introduced aggravating friction even though the machine-calibration was functional, albeit time consuming to run. Then I discovered dc42 firmware. This firmware has born delta calibration that calibrates very well in less than thirty seconds and supports ethernet, a very elegant congenital-in spider web interface and support for the elegant touch screen PanelDue display. My workflow now includes performing a scale at the start of almost every print – that’due south how fast and useful information technology is. As if this was non enough, the dc42 delta motion control is unique as well. All other mainstream firmwares calculate delta motility in brusk line segments. Non so dc42, information technology calculates each and every point of movement.
Read my recent forum postal service
if you’d like to learn more. I take also added a wifi bridge so my Rostock is wireless. With the integrated web client, I tin can upload gcode files, upload firmware configuration changes, and control the printer.
Bondtech QR extruder
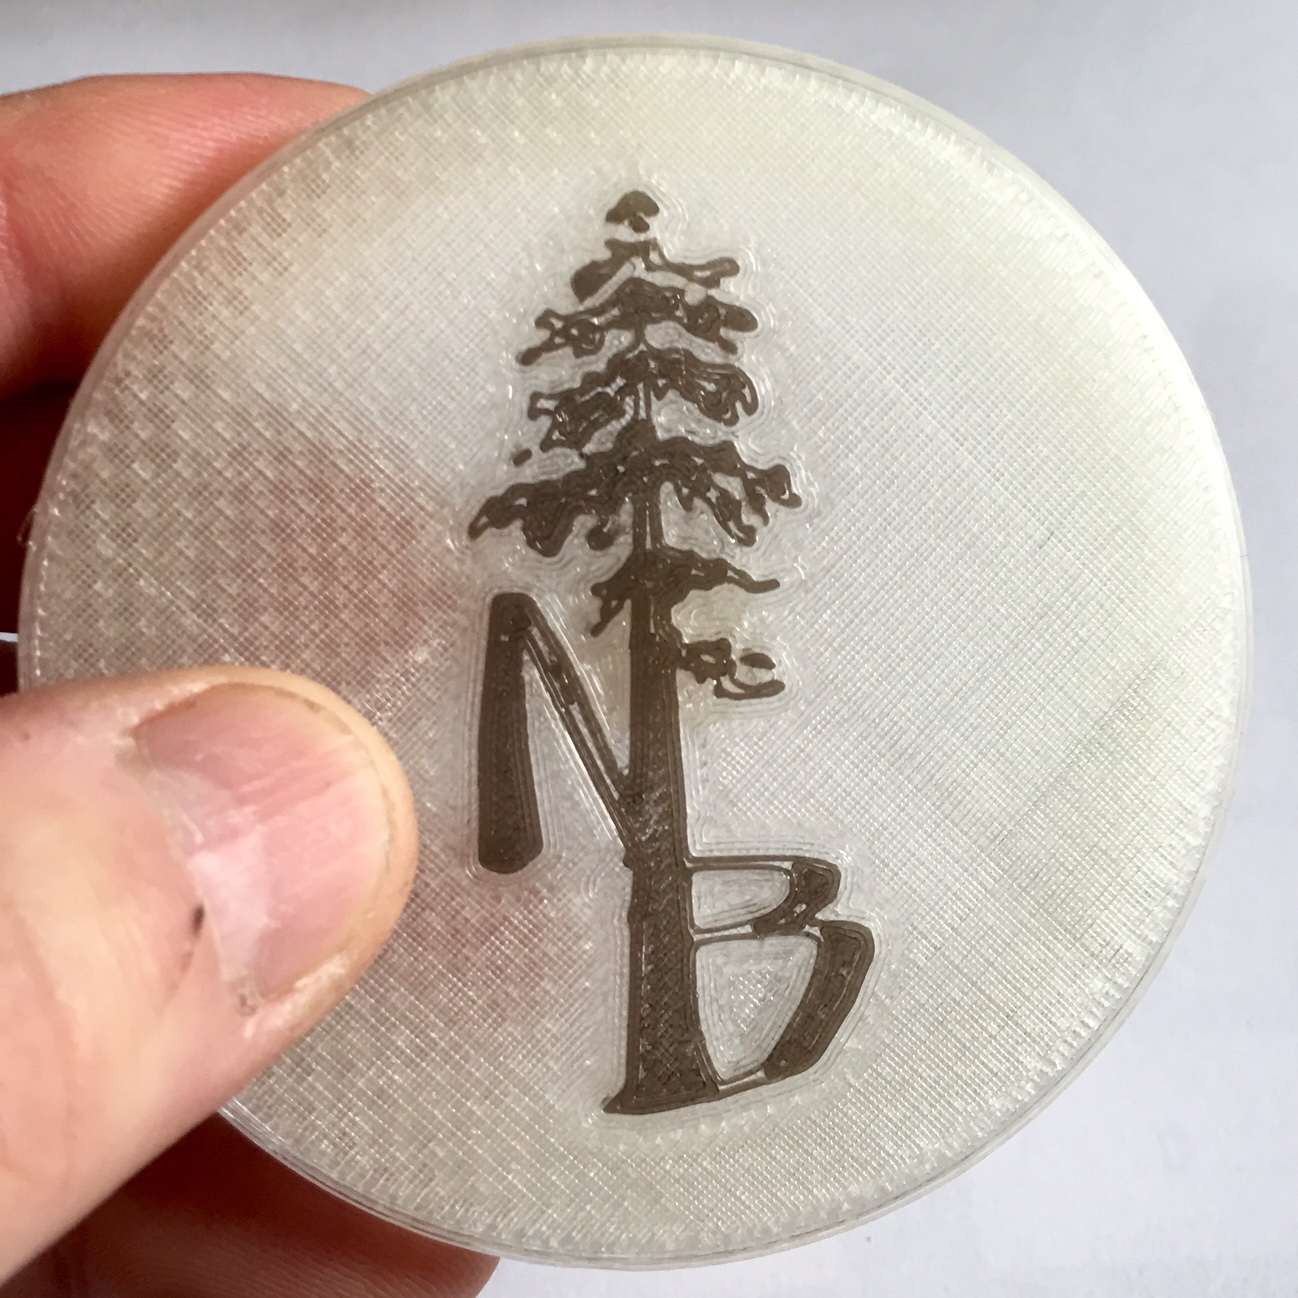
– I have tried well over a dozen extruders on my Rostock over the concluding two years. My v1 came with the original Steve’s Extruder. When the company introduced the ezStruder, I migrated all my printers to information technology. Over the last yr, a lot of enhancements and modifications to the ezStruder have been made by forum members – and I’ve incorporated all of them. This has significantly improved the ezStruder but the occasional hiccup still occurred. Recently I started experimenting with the E3D-Online Cyclops switching hot end. This is a very demanding hot finish and I struggled for half dozen months to get an acceptable print with it. The ezStruders, although perfect for many other applications, simply were not up to the Cyclops. Recently I discovered the Bondtech QR and purchased 2 to use with Cyclops. The results were immediate and beautiful! The Bondtech QRs conquered the Cyclops. Here’s an example two colour print, one of my first from the Cyclops:

I had been trying to print two color “encapsulated logos” to add to my fly fishing reels for almost a year. The Cyclops hot end was promising but until I discovered the Bondtech QRs, could not produce the results I was looking for with near 100% reliability. Here is an example:
I’ll exist blogging about how I attain this technique in a future post.
Software Upgrades
I’ve already mentioned a few software components I use now: the dc42 RepRapFirmware and the integrated web printer control client. I employ
RhinoCAD on Bone X
for all my design work. For slicing, I’ve tried all of the open source (Slic3r, Cura, MatterSlice) slicers, KISSlicer, and Simplify3D (v3). Of these, KISSlicer is still my go-to slicer. Terminal summer several pregnant updates to support multi-extrusion were added along with a feature I requested to divide filament retraction speeds so retract and advance could be unlike. This is because my research and experimentation with PLA uncovered that it is thixotropic and with rapid retract moves, can jam the hot end. Slowing downwards the retract eliminates this trouble but with other slicers, that slows down the advance as well. Now, with KISS, I tin can slow advance down to 15mm/s and retract at 40mm/s and get excellent results with no jamming.
RECAP
Here’s what I hope is a helpful listing to summarize what I think the nearly important upgrades take been in priority society. If I were to start with a new Rostock Max V2 today, this is what I would do:
- PEI bed surface with aluminum dissipator
- Duet controller and dc42 firmware
- FSR bed leveling system (2 & three should actually exist 2a and 2b as they become together)
- 24V Onyx heated bed upgrade with SSR
- Either a Kraken h2o cooled hot end or an E3D-Online V6 hot end with air cooling initially and so ultimately convert it to water cooling with the soon to be released upgrade or making your own simple jacket.
