

Add Printer Thermal 764 in Windows 7
Note:This mail service is a Windows adaptation of an before postal service,
Getting a USB receipt printer working on Linux, mainly in response to
these
questions.
In this post, I’ll step through how to go a USB thermal receipt printer appearing on Windows. The aim of this is to exist able to send raw text to the printer, and so that we tin can signal a driver such as
escpos-php
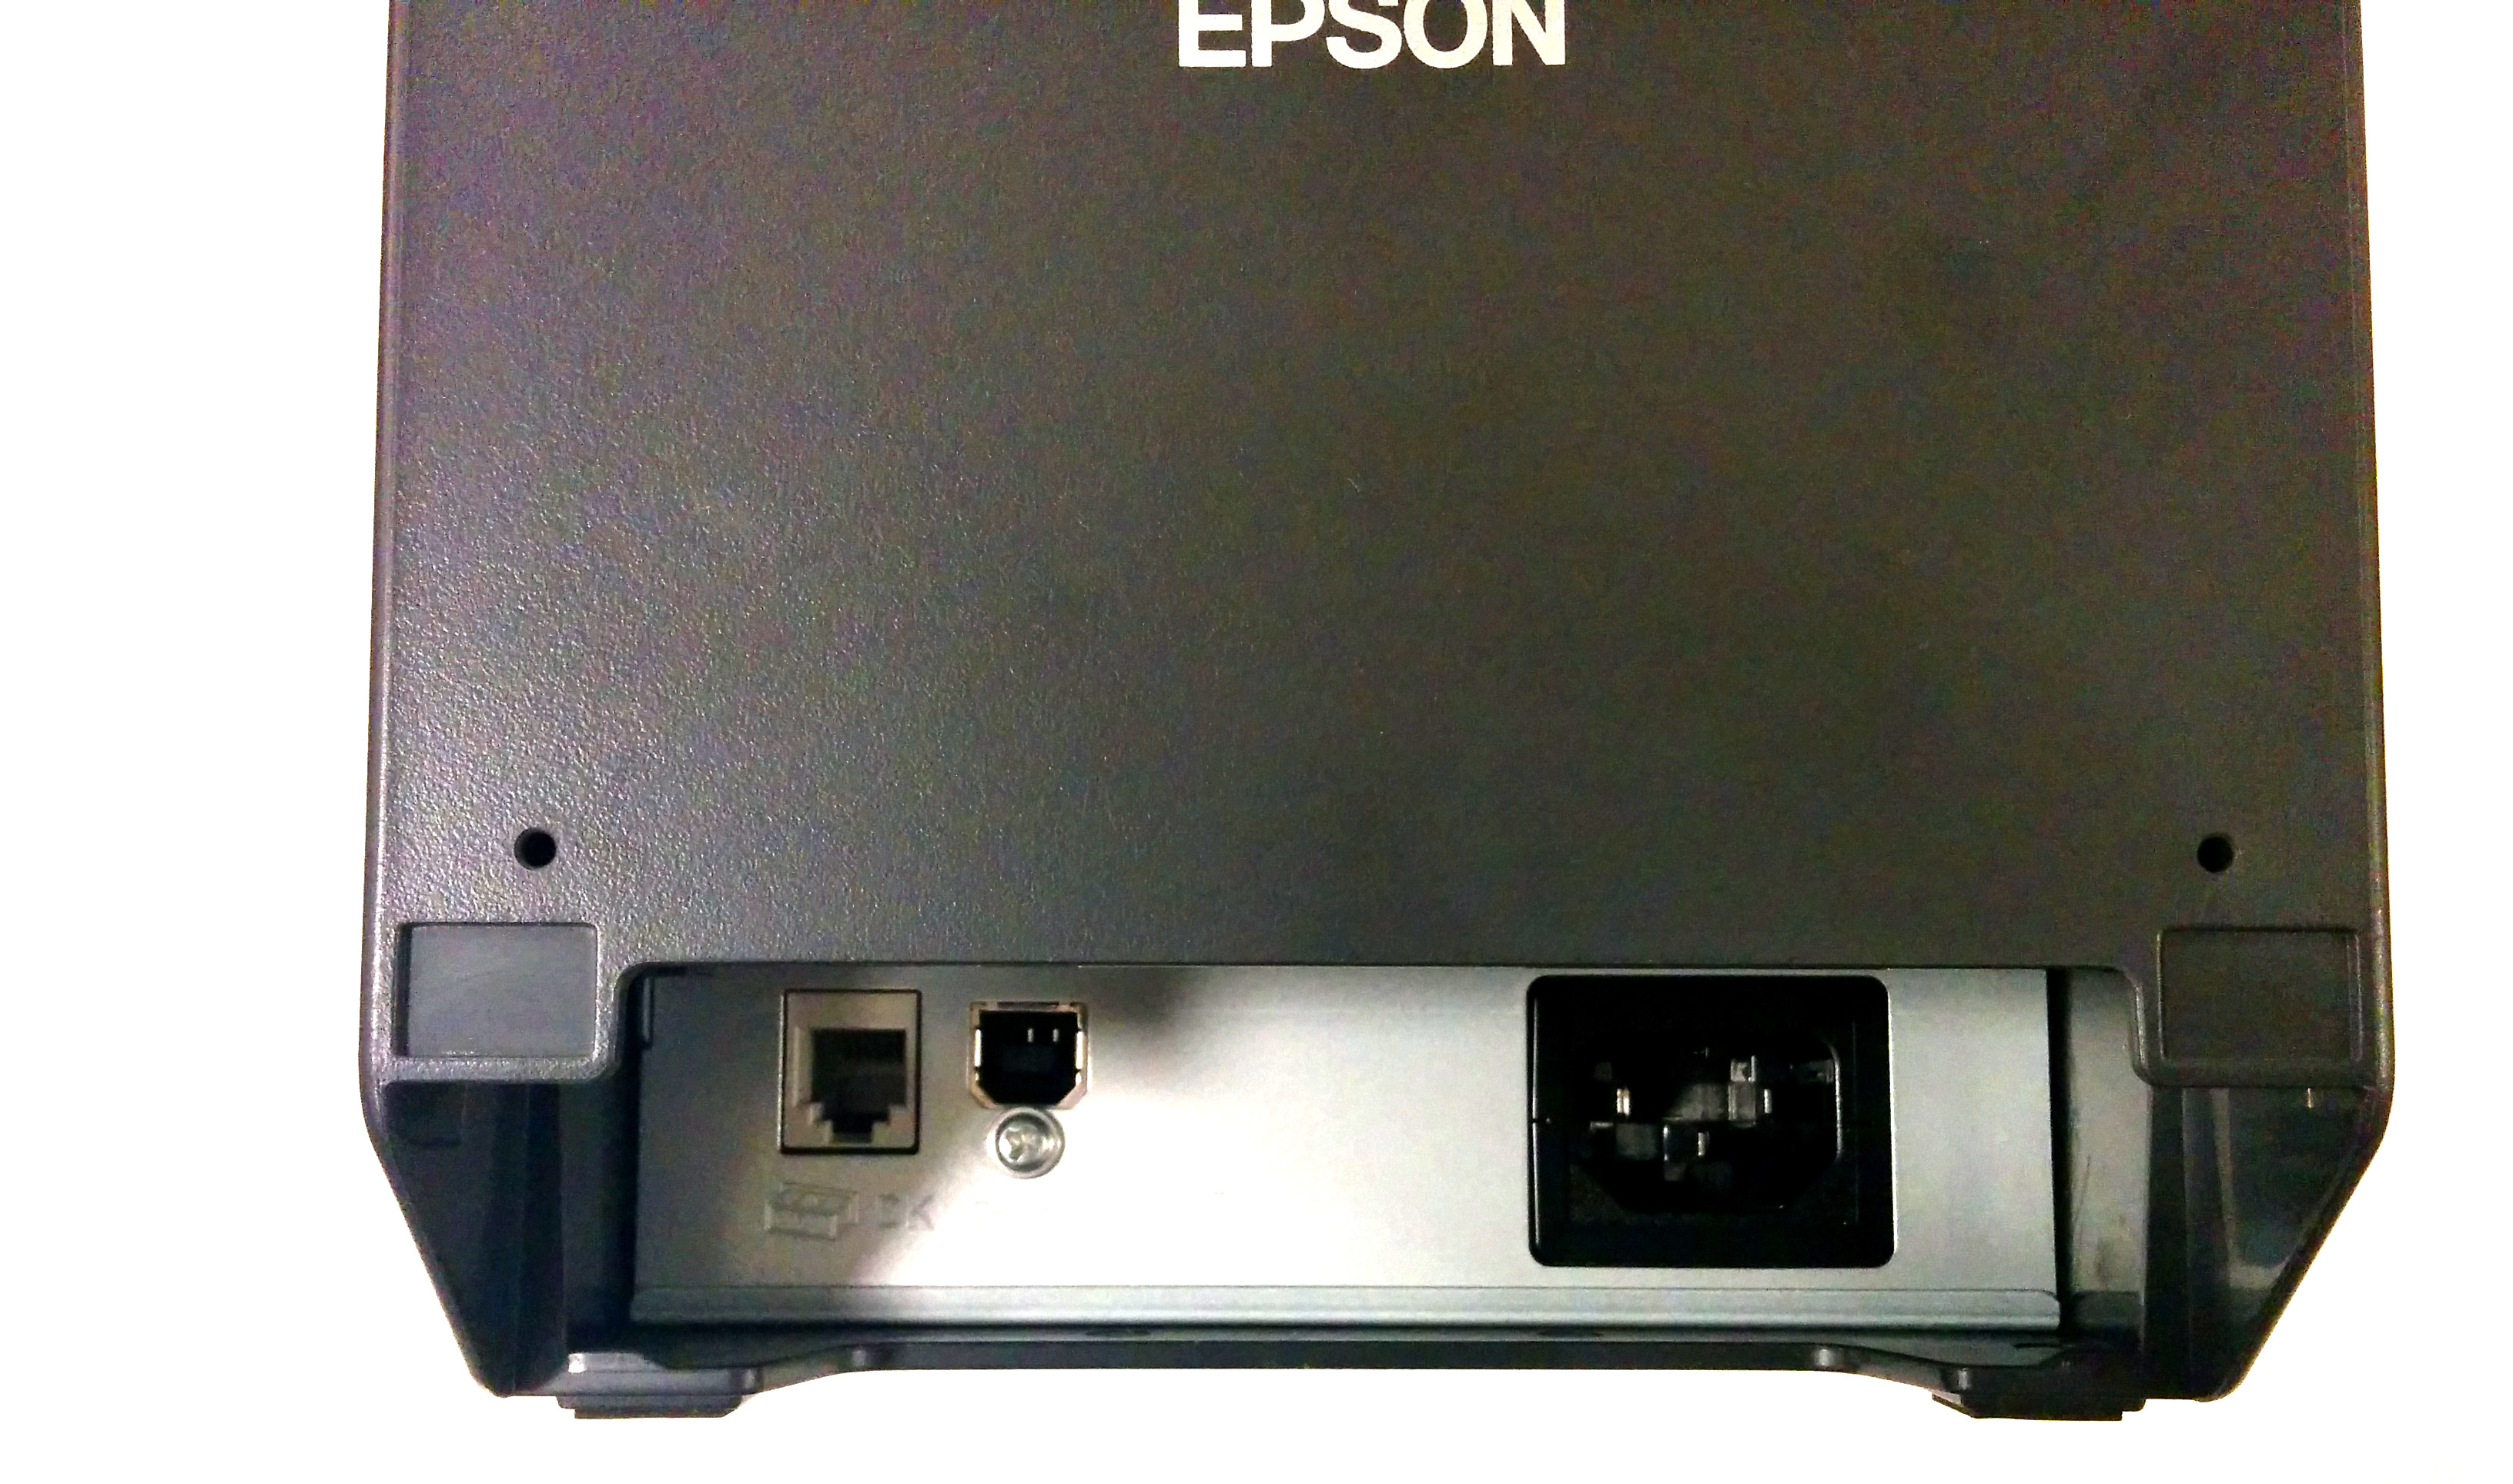
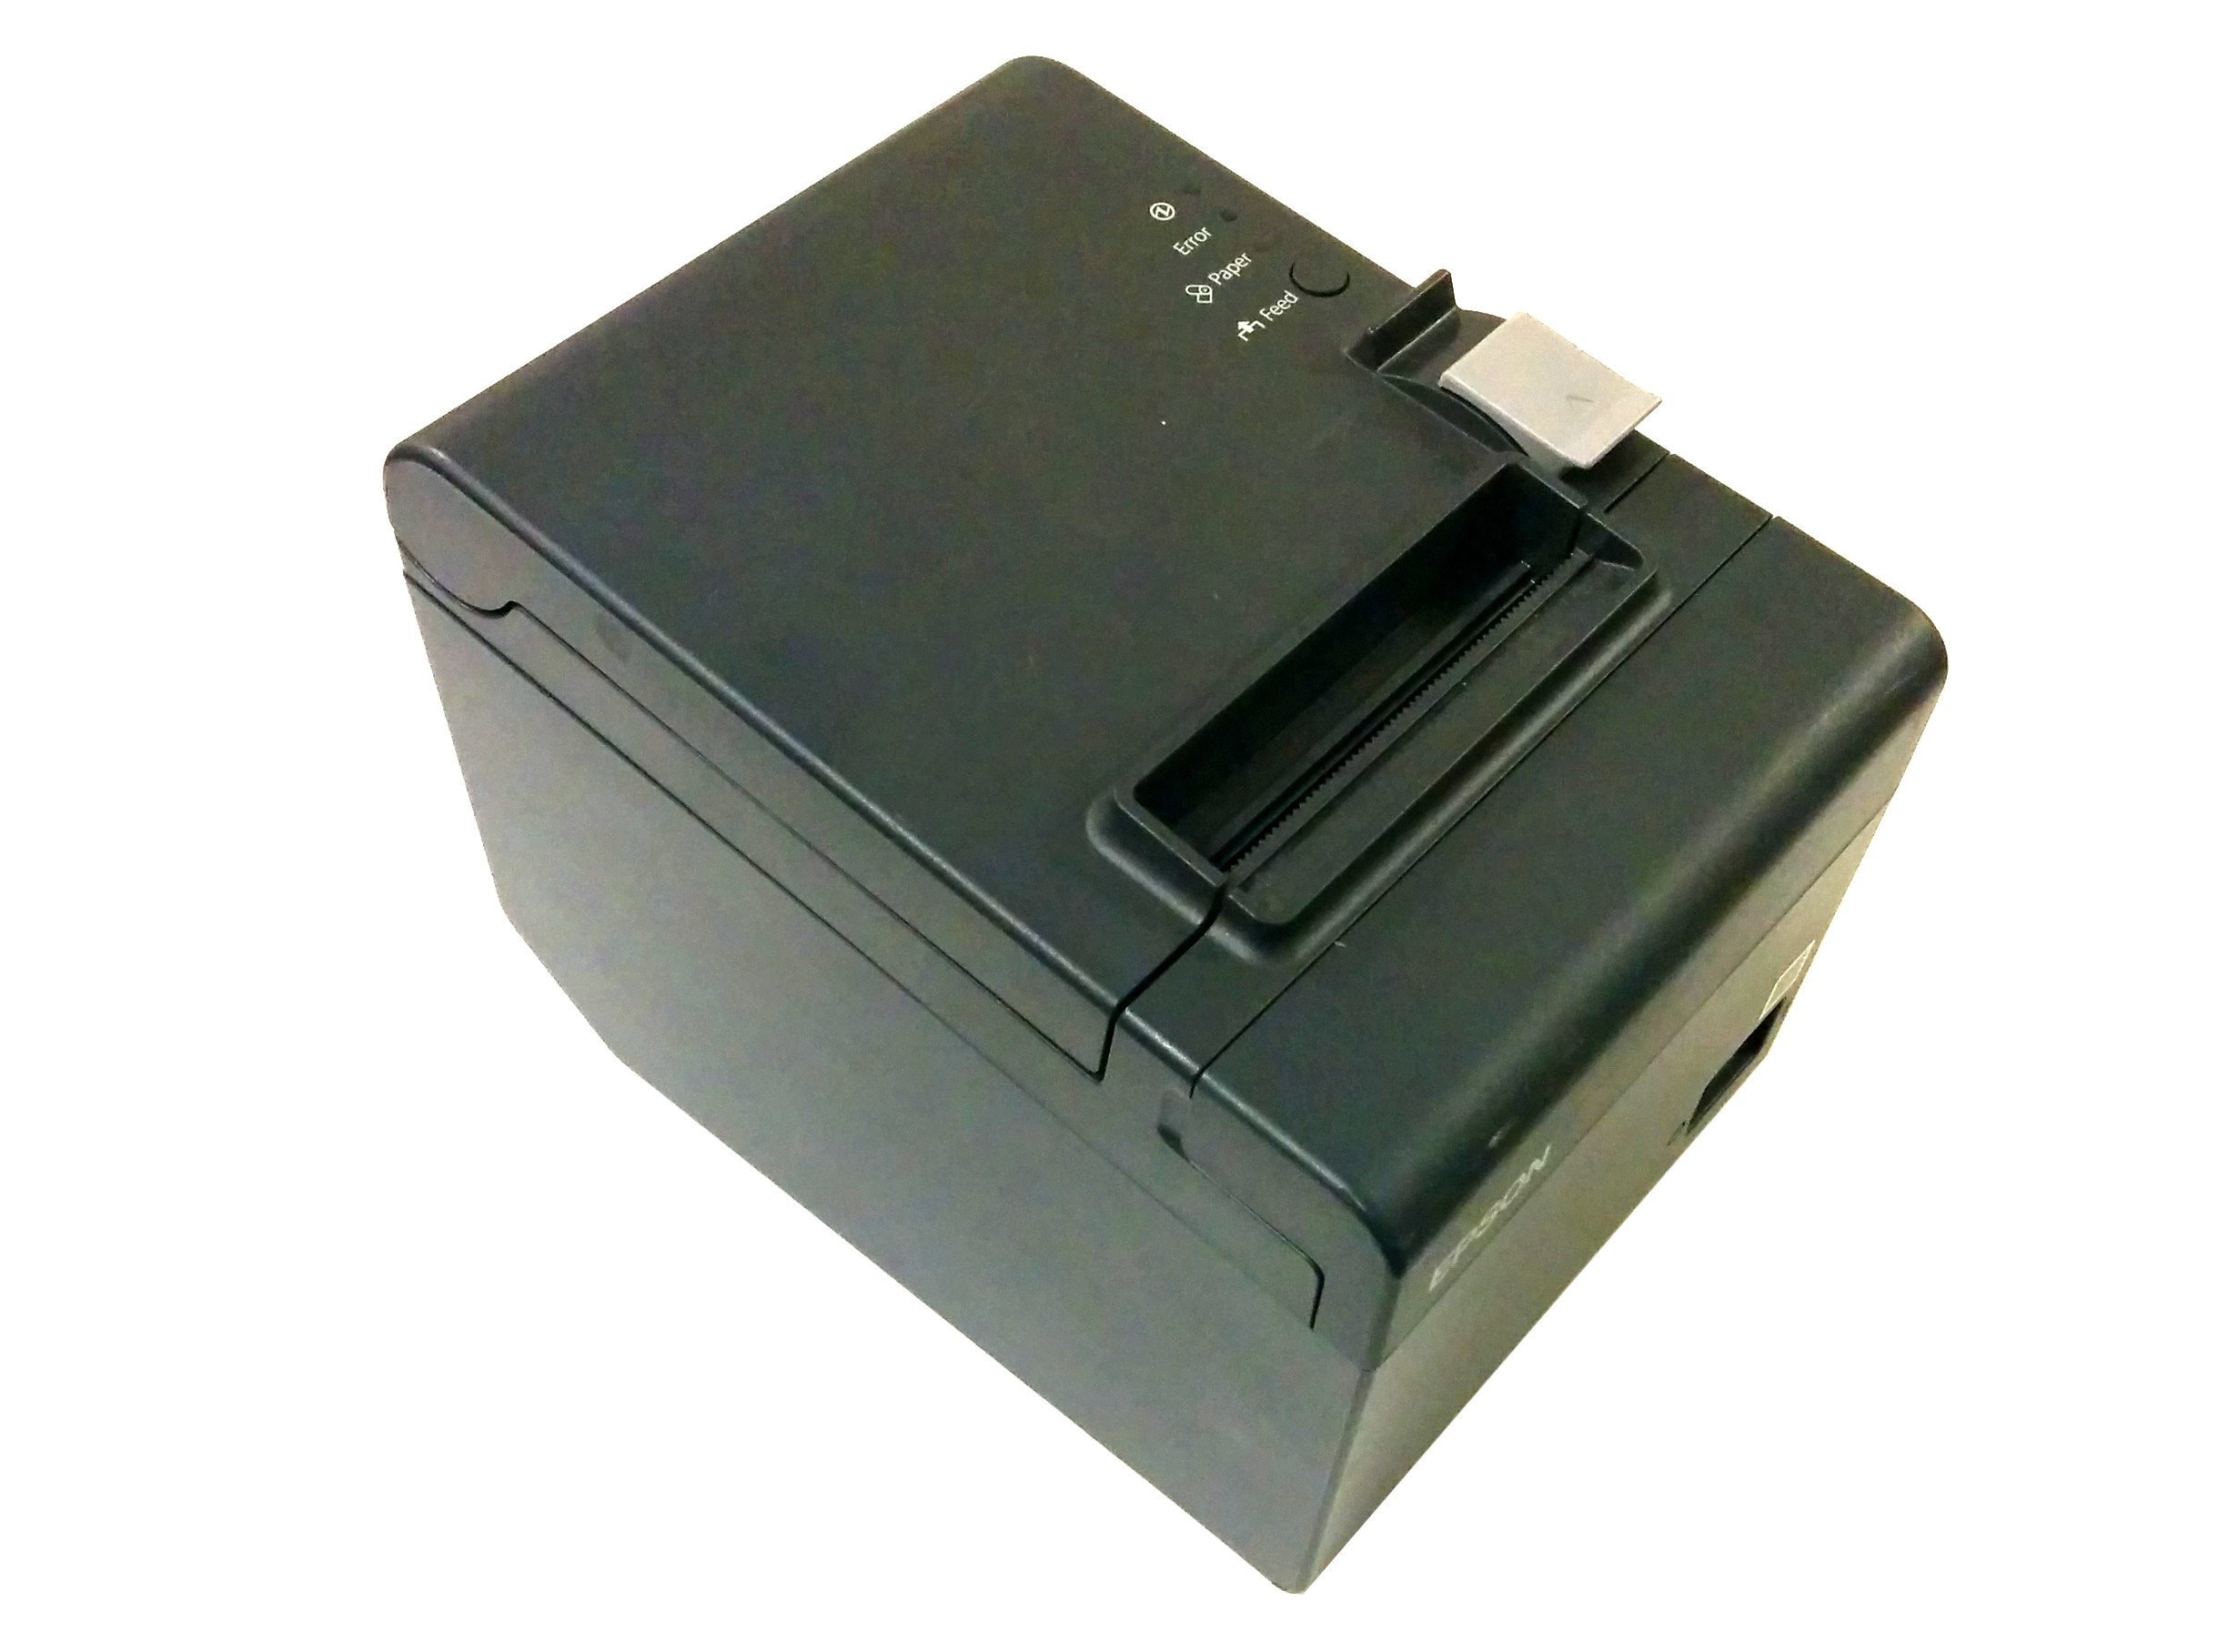
at information technology. The printer tested here is once again this Epson TM-T20:
The directions below are for Windows 7, so your mileage may vary if you are on an older or newer version.
If you lot accept issues following these steps, brand sure you can locate your printer in Device Manager, and that it has “USB Print Support”.
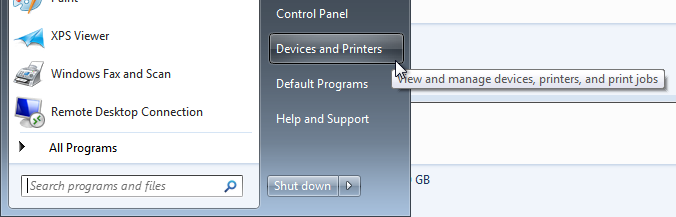
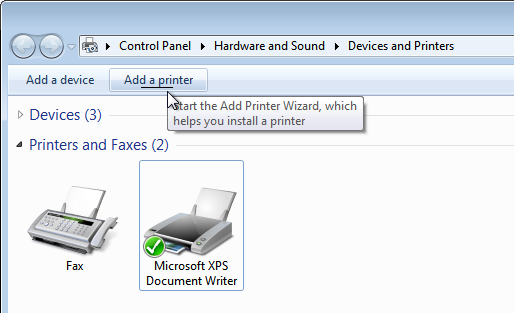
Add together the printer
Find
Devices and Printers
and click
Add a Printer.
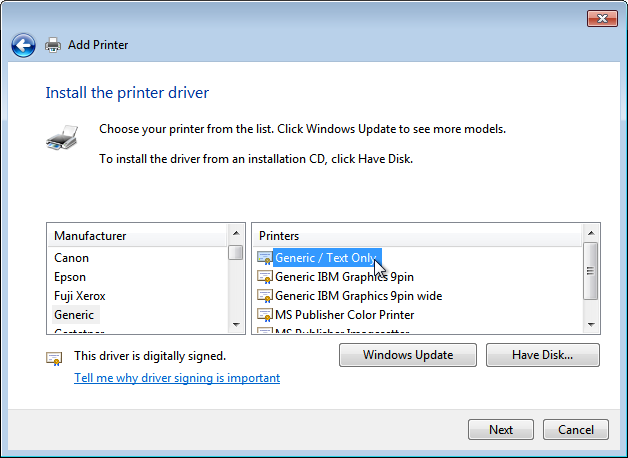
Add it as a
Local printer, using the USB virtual port, probably
USB0001:

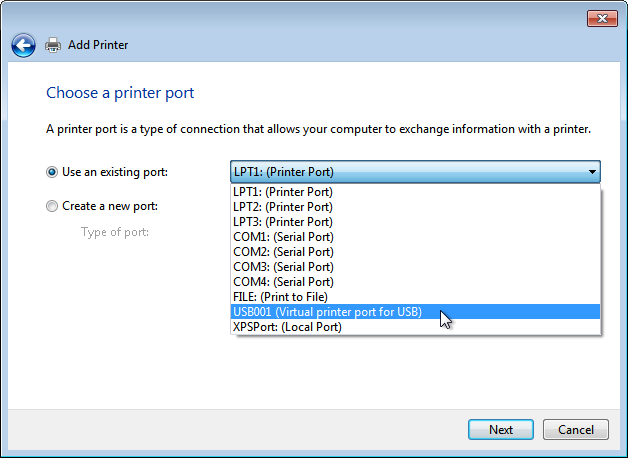
Use the
Generic / Text Just
driver.
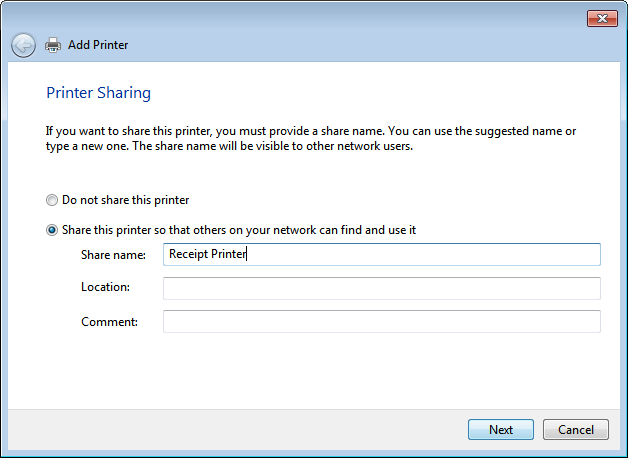
Name the printer whatever you like, and and so share information technology under the aforementioned proper name:

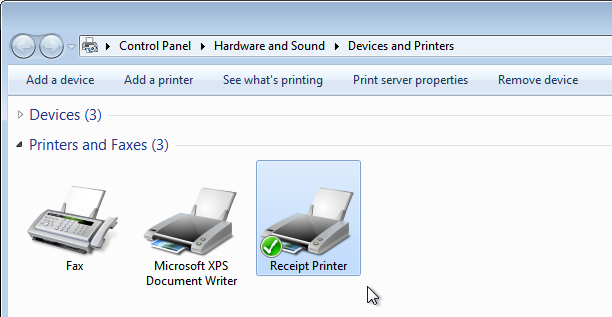
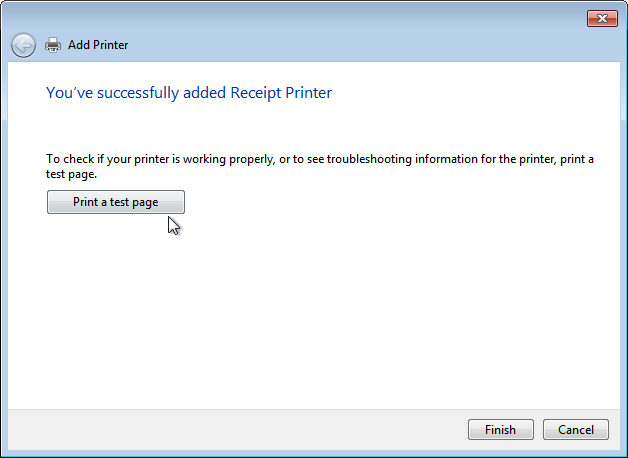
At this point, it should popular up in the window in the background, and also prompt you to
Print a test page.
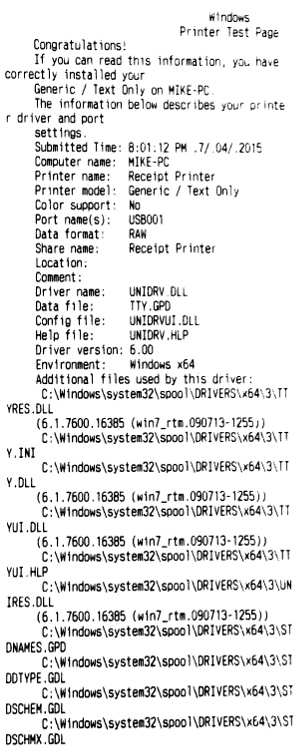
The test print is apparently-text, and depending on your printer, will look something like this:
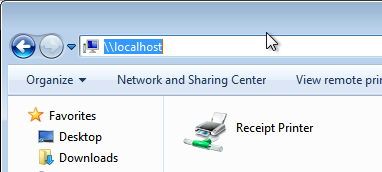
Finally, yous demand to verify that your printer can be accessed locally, by typing
\\localhost
into Windows Explorer. If all goes to programme, y’all volition run into the new printer there too:
Run a command-line exam print
We now know that your printer is working, and can be accessed via its share name (even locally).
Examination printing from the command-line. Fire up
cmd.exe
and attempt to send it some text to verify that it’s working:
echo "Hello World" > testfile impress /D:"\\%COMPUTERNAME%\Receipt Printer" testfile del testfile
Press something useful
This is where you start to see real results. Receipt printers are not simply for printing manifestly-text. Many of them support a standard called ESC/POS, which contains formatting commands.
The snippet below, from
this earlier mail, generates some basic ESC/POS commands.
Install PHP if you don’t have it already, and phone call the below code
foo.php:
<?php /* ASCII constants */ const ESC = "\x1b"; const GS="\x1d"; const NUL="\x00"; /* Output an instance receipt */ echo ESC."@"; // Reset to defaults echo ESC."East".chr(one); // Bold echo "FOO CORP Ltd.\n"; // Company echo ESC."E".chr(0); // Not Bold echo ESC."d".chr(1); // Bare line echo "Receipt for whatever\n"; // Print text repeat ESC."d".chr(4); // iv Bare lines /* Bar-code at the cease */ echo ESC."a".chr(i); // Centered press echo GS."thousand".chr(4)."987654321".NUL; // Impress barcode echo ESC."d".chr(i); // Bare line echo "987654321\n"; // Print number echo GS."V\x41".chr(three); // Cut go out(0);
You lot would send generated commands to the printer similar this:
php foo.php > testfile impress /D:"\\%COMPUTERNAME%\Receipt Printer" testfile rm testfile
Scaling this up
The correct ESC/POS codes are quite tricky to generate with manually, which is why I put together the escpos-php driver. You can discover more data on that at:
A simple “Hello World” receipt to your Windows shared printer would be scripted as (call this one
foo2.php):
<?php require __DIR__ . '/autoload.php'; use Mike42\Escpos\Printer; employ Mike42\Escpos\PrintConnectors\WindowsPrintConnector; try { // Enter the share name for your USB printer here $connector = new WindowsPrintConnector("Receipt Printer"); $printer = new Printer($connector); /* Print a "Hello earth" receipt" */ $printer -> text("Hi World!\north"); $printer -> cut(); /* Shut printer */ $printer -> shut(); } catch(Exception $e) { echo "Couldn't print to this printer: " . $e -> getMessage() . "\n"; }
This would be sent to the printer by loading it from the spider web, or running the script on the control-line:
php foo2.php
The full ESC/POS snippet with formatting, coded up with escpos-php, would look like this (phone call this 1
foo3.php):
<?php require __DIR__ . '/autoload.php'; use Mike42\Escpos\Printer; apply Mike42\Escpos\PrintConnectors\WindowsPrintConnector; try { // Enter the share name for your USB printer here $connector = new WindowsPrintConnector("Receipt Printer"); $printer = new Printer($connector); /* Impress some bold text */ $printer -> setEmphasis(true); $printer -> text("FOO CORP Ltd.\n"); $printer -> setEmphasis(fake); $printer -> feed(); $printer -> text("Receipt for whatever\due north"); $printer -> feed(4); /* Bar-code at the end */ $printer -> setJustification(Printer::JUSTIFY_CENTER); $printer -> barcode("987654321"); /* Close printer */ $printer -> close(); } catch(Exception $e) { echo "Couldn't print to this printer: " . $e -> getMessage() . "\north"; }
And again, this could be executed by loading the page through the web, or invoking the command directly:
php foo3.php
