

Access Denied for Access Share Printer Windows 10
Solved: Windows Cannot Connect to the Printer, Access is denied 2022
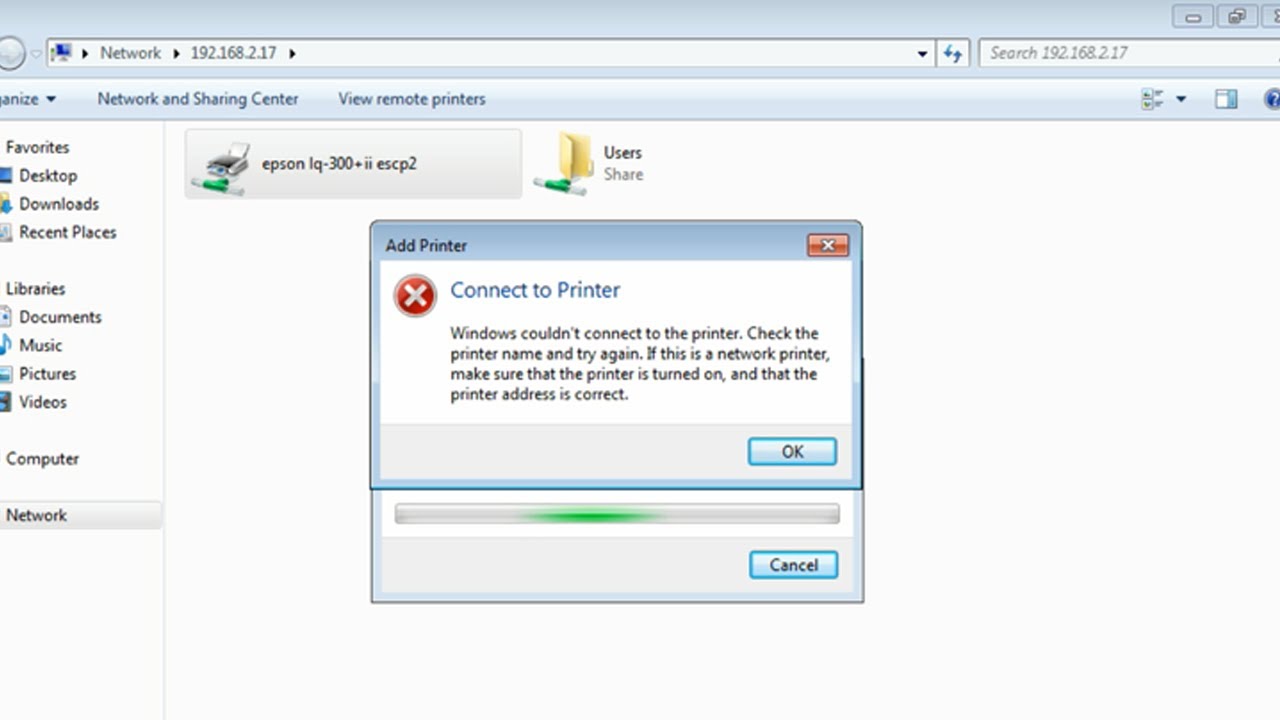
Printer stop printing chore after windows 10 update? Or while connect to a network shared printer display fault message “Windows Cannot Connect to the Printer, Admission is denied”. The most common reason for this fault “windows cannot connect to the printer” is the impress spooler service is Stucked, has a certificate awaiting in the queue locked, and Your user account doesn’t have rights to connect to the printer. Or corruption and improper installation of the print-driver event
- Windows Cannot Connect to the Printer – Operation Failed with Error 0x0000007e
- Windows Cannot Connect to the Printer – Functioning Failed with Fault 0x00000002
- Operation could not be completed (error 0x0000007e)
- Windows cannot connect to the printer 0x00000bcb
- Windows cannot connect to the printer 0x00003e3
- Windows cannot connect to the printer no printers were institute
If y’all are struggling with this problem, unable to connect to the printer, here is how to go rid of this error and install the printer without any problem.
Windows Cannot Connect to the Printer
First of all, Connect your Printer to the estimator and switch information technology ON.
In the case of a Wireless printer, Switch it ON and connect it to the Wifi network.
Sometimes power cycling your printer tin resolve the issue. Turn off your printer and unplug information technology, wait 30 seconds, plug your printer back in, and then plough the printer back on.
As well, it’s suggested to cheque if the user account has permission to print and manage the printer. To do this motility to the PC where the local printer is installed and
- Open up the Control panel.
- Under Hardware and Sound, click on Devices and Printers.
- Locate your printer and right-click.
- Click on the Printer properties from the menu and select the Security tab.
- Select your user business relationship name from the list of user accounts.
Make sure that all the checkboxes against the permissions are marked equally “Allow”.
 If the permission is already set equally “allow”, then this could exist a network setting issue. Check if your account is configured correctly to the network and cheque the network options.
Run Printer Troubleshooter
If the issue persists, run the Printer troubleshooter and check if it helps.
- Type troubleshoot settings on the first bill of fare search and printing enter.
- click on Printer and select run the troubleshooter
- this will check and fix the issues and forestall complete printing task.

Restart Print Spooler Service
- Printing Windows Key + R then type
services.msc
and striking Enter. - Detect Print Spooler service in the listing and double-click on it.
- Make certain the Startup type is gear up to Automatic and the service is running, so click on End and so again click on start in order to restart the service.
- At present movement to the dependencies tab and bank check listed dependencies services running.
- Click Apply followed by OK.
- After that, over again endeavour to add the printer and see if you’re able to Fix Windows Cannot Connect to the Printer result.

Copy the mscms.dll
- Navigate to the following folder: C:\Windows\system32\
- Find the mscms.dll in the higher up directory and right-click then select copy.
- At present paste the higher up file in the post-obit location according to your PC architecture:
C:\windows\system32\spool\drivers\x64\3\ (For 64-bit)
C:\windows\system32\spool\drivers\w32x86\3\ (For 32-flake)
- Reboot your PC to save changes and over again endeavour to connect to the remote printer again.
- This should assistance yous Fix Windows Cannot Connect to the Printer issue, if non and then continue.
Delete Incompatible Printer Drivers
Some Times The problem can exist caused due to incompatible printer drivers. Also, An installation of the previous printer can forestall the printer spooler from calculation new printers. So yous tin try to remove these outdated drivers and re-install them once again.
- Press Win + R then typeprintmanagement.msc and hit Enter
- This volition open print management.
- From the left pane, clickAll Drivers
- Now in the correct window pane, right-click on the printer driver andclick Delete.
- If you see more than one printer commuter’s name, repeat the to a higher place steps.
- Restart windows and Again endeavor to add the printer and install its drivers.

Create a New Local Port
- Open Control Panel.
- View by Large icons, click Devices and Printers.
- Click Add a printer at the acme of the window.
- Select Add a network, wireless or Bluetooth printer
- Select Create a new port, modify the “Blazon of port” to Local Port then click the Next button.
- Enter a port proper name in the box. The port name is the printer’south address.

The address format is the
\\IP address or the Reckoner Name\Printer’due south Name
(refer to the following screen). Then click the OK push button.
- Select the printer model from the directory and click the Adjacent button.
- Follow the residuum on-screen instructions to stop adding the printer.
Tweak Windows Registry
- Press Win + R and then blazon
regedit
and hit the enter key, - This will open the Windows Registry Editor.
- Fill-in
Windows registry
then In theleft pane,navigate to the following key
HKEY_LOCAL_MACHINE\SOFTWARE\Microsoft\Windows NT\CurrentVersion\Print\Providers\Client Side Rendering Print Provider
- Correct-click onClient Side Rendering Print Provider and selectDelete.
- Restart both PC and printer, check this fourth dimension no more than error while connecting to the local shared printer.
Did these solutions help to prepare “Windows Cannot Connect to the Printer“? Let the states know on the comments beneath, Also read:
- Printer in Mistake Country? Here is how to ready printer problems on windows ten.
- iTunes Not Working on Windows 10? Here 5 Different iTunes problems and solutions.
- Fix iPhone Non Showing Upward in iTunes For Windows 10, eight.i and 7
- Solved: Windows 10 Settings not Opening Working 2022.
- 7 solutions to prepare Windows 10 Can’t Connect to This Network (WiFi).
